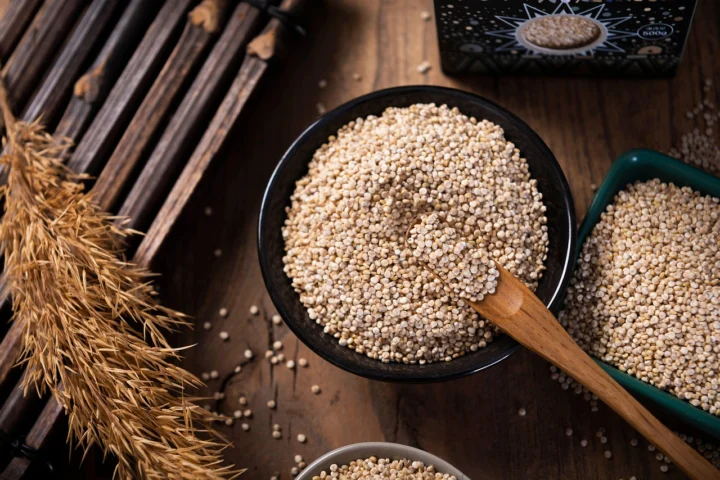
Short answer: To cook quinoa perfectly, rinse it first, then use a 2:1 water-to-quinoa ratio. Bring to a boil, simmer covered for 15 minutes, then let it rest off heat for 5 minutes. Fluff with a fork for light, fluffy grains.
Key takeaways
- Rinse quinoa to remove bitter saponins.
- Use a 2:1 water-to-quinoa ratio for best results.
- Simmer covered for 15 minutes, then rest 5 minutes.
- Fluff with a fork for perfect texture.
- Store cooked quinoa in the fridge for up to 5 days.
What you will find here
- Why Is My Quinoa Bitter? The Importance of Rinsing
- What Is the Perfect Quinoa-to-Water Ratio?
- Step-by-Step: How to Cook Quinoa Perfectly
- How to Tell When Quinoa Is Done
- Common Mistakes and How to Fix Them
- How to Store Cooked Quinoa for Meal Prep
- Flavor Variations: Beyond Plain Quinoa
- Quinoa as a Meal Prep Base
Quinoa is a versatile, protein-packed grain that can be a staple in your meal prep routine. But if you’ve ever ended up with a mushy, bitter, or undercooked batch, you know it takes a little know-how to get it right. This guide will walk you through every step to cook quinoa perfectly, so you get fluffy, nutty grains every time.
Why Is My Quinoa Bitter? The Importance of Rinsing
Quinoa has a natural coating called saponin that tastes bitter and soapy. Most boxed quinoa is pre-rinsed, but it’s always a good idea to rinse it yourself. Place the quinoa in a fine-mesh strainer and run cold water over it for about 30 seconds, stirring with your hand. You’ll see the water turn slightly foamy—that’s the saponin washing away. Skipping this step is the most common mistake beginners make.
If you buy bulk quinoa, rinsing is essential. Even with pre-washed brands, a quick rinse never hurts. It ensures your quinoa tastes clean and nutty, not bitter. For best results, use a fine-mesh strainer—regular colanders let the small seeds slip through. If you don’t have one, line a colander with cheesecloth or a clean kitchen towel.
What Is the Perfect Quinoa-to-Water Ratio?
The standard ratio for cooking quinoa is 2 parts liquid to 1 part quinoa. For example, 1 cup of dry quinoa needs 2 cups of water or broth. Using broth adds flavor, especially if you’re serving quinoa as a side dish. For meal prep, water works fine and keeps it neutral for recipes.
Some people prefer a slightly drier quinoa and use a 1.75:1 ratio. But for beginners, 2:1 is forgiving and yields fluffy results. Measure carefully: too much water makes it mushy; too little makes it crunchy. If you’re cooking a smaller batch, say ½ cup quinoa, use 1 cup liquid—the ratio stays the same. For a larger batch, like 2 cups quinoa, use 4 cups liquid. The cooking time remains 15 minutes regardless of quantity, as long as the pot is covered and the heat is low.
Step-by-Step: How to Cook Quinoa Perfectly
- Rinse the quinoa in a fine-mesh strainer under cold water for 30 seconds. Stir with your hand to ensure all grains are rinsed.
- Toast (optional): Add the rinsed quinoa to a dry saucepan over medium heat. Stir for 2-3 minutes until it smells nutty and the water evaporates. This deepens the flavor. Be careful not to burn it—stir constantly and remove from heat if you see any browning beyond golden.
- Add liquid: Pour in the water or broth (2 cups per 1 cup quinoa). Add a pinch of salt. If using broth, taste for saltiness first—you may need less salt.
- Bring to a boil over high heat. Watch the pot—once it boils, immediately reduce the heat.
- Simmer: Reduce heat to low, cover, and simmer for 15 minutes. Do not lift the lid! The steam is crucial for even cooking. If you peek, you’ll release steam and the quinoa may end up undercooked.
- Rest: Remove from heat and let it sit covered for 5 minutes. This allows steam to finish cooking the grains and makes them fluffier.
- Fluff: Remove the lid, tilt the pot to drain any excess liquid (there shouldn’t be much), and fluff with a fork. Serve or store.
That’s it. The grains should be tender but still have a slight bite, and each seed should be separate and fluffy. If you notice any liquid left after resting, the heat was too low or the lid wasn’t sealed properly. Next time, ensure a tight seal and a gentle simmer.
How to Tell When Quinoa Is Done
Perfectly cooked quinoa has a translucent appearance and a tiny white ring around each grain. That ring is the germ, and it’s a sign of proper cooking. If you don’t see the ring, the quinoa is undercooked. If it’s mushy and split, it’s overcooked. Taste one to check: it should be tender but chewy, not crunchy or soggy.

If your quinoa is still crunchy after 15 minutes, add a tablespoon of water, cover, and cook for another 2-3 minutes. If it’s too wet, remove the lid and cook on low for a minute or two to evaporate excess moisture. For a quick fix, spread the wet quinoa on a baking sheet and place in a 300°F oven for 5 minutes to dry out.
Common Mistakes and How to Fix Them
Mushy Quinoa
This happens when you use too much water or cook it too long. Next time, use a 2:1 ratio strictly and don’t exceed 15 minutes of simmering. For the current batch, spread it on a baking sheet and let it dry in a low oven (300°F) for 5-10 minutes to remove moisture. Alternatively, stir it over low heat in the pot for a few minutes without the lid to evaporate steam.
Bitter Quinoa
Almost always lack of rinsing. Rinse thoroughly next time. If your cooked quinoa still tastes bitter, you can rinse it after cooking in a strainer, but you’ll lose some texture. To salvage, toss the quinoa with a flavorful dressing or sauce that masks the bitterness, like a vinaigrette with lemon juice and honey.
Undercooked Quinoa
Check your ratio and cooking time. Ensure the lid fits tightly so steam doesn’t escape. If you’re at high altitude, you may need to cook it longer (up to 20 minutes) and add a bit more water. Also, old quinoa may require longer cooking. If you’re using pre-rinsed quinoa, it may have absorbed moisture during storage, so adjust accordingly.
Burnt Quinoa
If the bottom of the pot is burnt, don’t scrape it into the rest of the quinoa. Transfer the unburnt quinoa to another container, rinsing the pot immediately. To prevent burning, use a heavy-bottomed pot and keep the heat low during simmering. Stirring occasionally can help, but avoid lifting the lid too often.
How to Store Cooked Quinoa for Meal Prep
Cooked quinoa stores beautifully for meal prep. Let it cool completely, then transfer to an airtight container. It will keep in the fridge for up to 5 days. You can also freeze it for up to 3 months. To reheat, microwave with a splash of water for 1-2 minutes, or reheat in a pan with a little oil. For best texture, reheat only as much as you need—repeated reheating can dry it out.
Quinoa is perfect for making ahead for weekly lunches. Try adding it to salads, bowls, or soups. For more meal prep ideas, check out our guide on Meal Prep Healthy Lunches for the Week: A Step-by-Step Guide.
Flavor Variations: Beyond Plain Quinoa
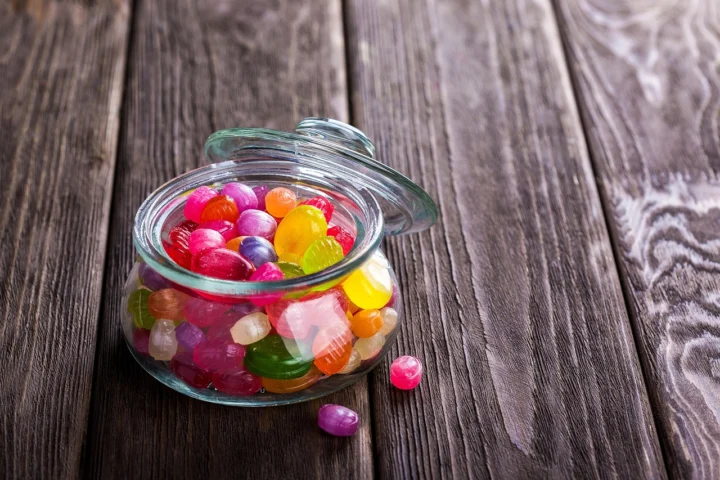
Once you’ve mastered the basics, you can easily add flavor. Cook quinoa in chicken or vegetable broth instead of water. Add a bay leaf, garlic clove, or a pinch of cumin to the cooking liquid. For a citrusy twist, stir in lemon juice and zest after fluffing. You can also mix in cooked vegetables, herbs, or nuts right from the pot.
For a Mediterranean bowl, toss cooked quinoa with diced cucumber, tomato, olives, feta, and a lemon-oregano vinaigrette. For an Asian-inspired dish, add soy sauce, sesame oil, and chopped scallions. For a breakfast porridge, cook quinoa in milk with a pinch of cinnamon and a drizzle of maple syrup. The possibilities are endless.
Quinoa as a Meal Prep Base
Quinoa is ideal for meal prep because it’s high in protein and fiber, keeping you full. Make a big batch on Sunday and use it throughout the week. Toss it with roasted vegetables and a vinaigrette for a quick lunch. Or top it with a fried egg for a fast dinner. For more meal prep tips, see our How to Meal Prep Healthy Lunches for the Week guide.
Once you get the hang of cooking quinoa perfectly, it becomes a reliable pantry staple. Rinse, use the right ratio, don’t peek, and let it rest. Follow these steps, and you’ll never go back to bland or mushy quinoa again.
Frequently asked questions
Do I need to rinse quinoa before cooking?
Yes, rinsing removes the natural bitter coating called saponin. Even if the package says pre-rinsed, a quick rinse under cold water for 30 seconds ensures a clean, nutty flavor.
What is the best water-to-quinoa ratio?
The standard ratio is 2 cups of water or broth to 1 cup of dry quinoa. This yields fluffy, tender grains. For a firmer texture, try 1.75:1, but 2:1 is most reliable for beginners.
How long does it take to cook quinoa?
Once the liquid boils and you reduce to a simmer, quinoa takes about 15 minutes to cook. Then let it rest covered off heat for 5 minutes before fluffing. Total time is about 20 minutes.
Why is my quinoa mushy?
Mushy quinoa usually means too much water or cooking it too long. Stick to a 2:1 ratio and don’t exceed 15 minutes of simmering. If it’s already mushy, spread it on a baking sheet and dry it in a low oven briefly.
Can I freeze cooked quinoa?
Yes, cooked quinoa freezes well. Let it cool completely, then store in a freezer-safe bag or container for up to 3 months. Thaw in the fridge or microwave, and add a splash of water when reheating.
2 thoughts on “How to Cook Quinoa Perfectly Every Time”